Product Description
Product Videos
Videos Hide Videos Show Videos
Custom Field
Product Reviews
13 Reviews Hide Reviews Show Reviews
-
Little work but looks good
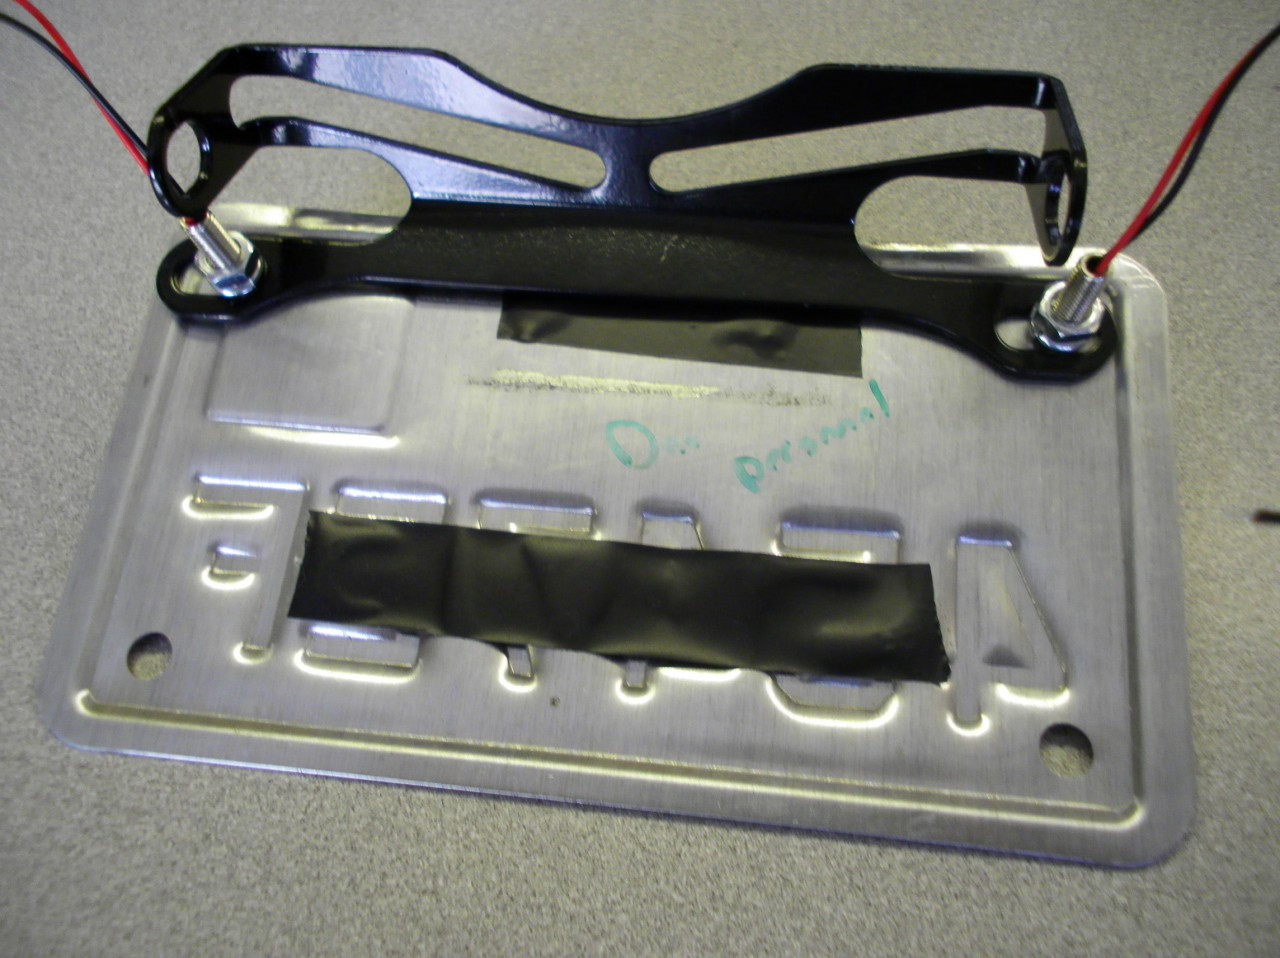
I orderd this fender eliminator kit for my 2008 hyosung 650gtr at first I was like what did I just get into but once I looked at it I knew it was gonna look good took me about hr &half to remove cut remount drill and bolt the on I have to say I'm very happy with it the LED lights that you can get with the pack is the best way to go hands down few extra dollars and some quick connect plugs and the make that tale look so good
-
awesome
First of all, these guys ship really fast. I ordered Friday and got it Monday. Didn't even choose any special shipping. Nice! As for the kit, its the best! Just wish it came with some electrical instructions for noobs like me lol. But its not difficult to figure out. Everything is easy, except the electrical part, unless you already know how it works. I didnt. I have a 2012 GT250. Removing the fender is easy once you figure it out. The hardest part for me was the wiring because I was scared to touch the stuff but then took a shot at it anyway, and its really easy. To remove the fender you have to disconnect the wiring under the seat for the turn signal lights and license plate light. You just disconnect these gold connectors for the turn signal(make sure you remember which goes to which, or mark them somehow), then the LP light just has a regular plastic connector. Then you can pull the wires out from the bottom, that lets you slide out the metal part of the fender that was holding everything. Make sure you have it all hooked up before you bolt the new fender to the bike. Doesn't have to be tightened but does need to be all in its place. To connect the LP light to the original source, you just connect the red wires to the yellow wire, and then the black wires to the black wire(maybe this is common sense but I didnt know). Use some electrical tape, connect everything back under the seat, tuck it all in, tighten the bolts on everything, test it, and boom, your done. Took me hours, but I'm guessing if I knew what I know now it could probably take like 1 hour or less. The wires will be squished against the new fender through the little hole, not sure if there's a better way to do it, but it all still works. Definitely worth it and makes the bike look nicer. Recommend!
-
Cheap and Straight Forward
This is probably the sexiest piece of kit for the price. It does require a bit of skills to mount on a 2006 GT 650. I stripped and soldered the wires for the plate LEDs. They are quite thin but workable with a good wire stripper and a bit of care. Heat-shrink tubbing on top, et voila. Being able to reuse the original blinkers was a plus for me: while the rear is now SO much cleaner, it still looks kinda stock. All the wiring was re-routed through a hole through the pilion compartment (with a rubber grommet). The multi-tool and a hack saw took care of the plastic fender. In the end, the kit is fairly inexpensive, the extra 3$ of hardware required to mount it is no big deal, and the bike looks so much better from the rear.
-
Cheap clean, but could be better.
The fender eliminator is inexpensive and clean looking (definitely better than the stock), but it could use the following improvements: I have a 2008 GT650R, so you might have a slightly different experience with the newer models, as the rear fender is somewhat different. The fender eliminator kit does not come with bolts to attach it to the motorcycle. I had to go out and by 2 bolts and drill 2 holes into the bottom of the old plastic fender, and mount this metal brack to the bottom of the old one. But I did not have much trouble getting it installed. It took sawing the old plastic fender in half, and drilling 2 holes into the bottom, and mounting the new fender eliminator to it with the license plate and blinkers attached. The LED bolts that come with license plate lights, have flimsy and weak wires. BECAREFUL!! It is really easy to strip or break these wires. I tried to cut the wires use the smallest wire gauge on my wire stripper tool, and these wires were still to small cut. I had to use a razor blade, and cut off the protective rubber from the wire to expose the copper underneath. It was too skinny to use with a tap splice or anything for that matter, so I had fold the copper ends over a few times and twist it to make them thicker. These thicker contacts were then big enough to use with a tap splice, or other types of wire connectors. The hardest part was sawing the old fender. I use a combination of a hack saw and scissors to cut threw the plastic, and then sanded the edges down to smooth it out. It was pretty straight forward, and looks good now. Not bad for $18 or so. Cheapest fender eliminator kit I have ever bought!


__65689.1279306047.JPG?c=2)


__65689.1279306047.JPG?c=2)


